
How to Set Up a Tent: Step-by-Step Guide for Beginners
Learn how to set up a tent quickly and correctly. From picking a campsite to staking out guy lines, this step-by-step guide covers everything beginners need.
Use this guide for
Better camping decisions, faster trip planning, and clearer gear choices. Use this article as your starting point, then keep going with related camping guides and practical help articles below.
Knowing how to set up a tent correctly can make or break your first night at a campsite. A tent that's pitched wrong flaps in the wind, lets in rain, or sags under condensation. One that's pitched right keeps you warm, dry, and comfortable all night long.
This guide walks you through the entire process — from picking your spot to sleeping soundly inside — so you can pitch your tent confidently, even on your first camping trip.
Before You Leave Home: Practice in the Backyard
The single best thing you can do before your first camping trip is practice setting up your tent at home. You'll learn where every pole, clip, and stake goes without the pressure of fading daylight or hungry kids waiting. You'll also catch any missing parts before you're miles from the nearest store.
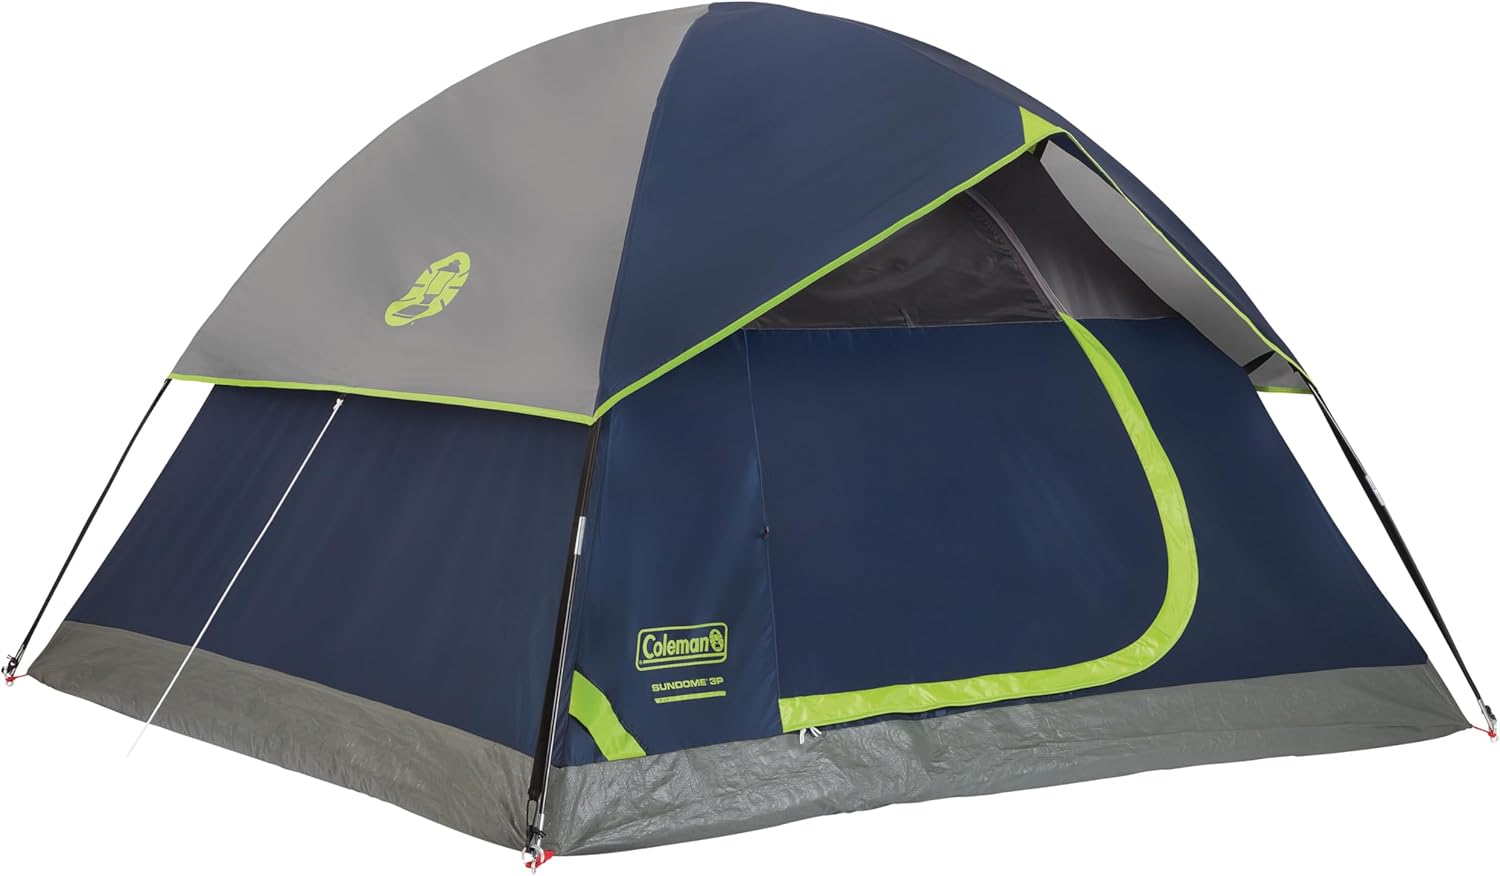
Most beginner-friendly tents — like the Coleman Sundome — set up in under 10 minutes once you've done it once or twice. The Sundome uses a simple two-pole crossing design that's nearly foolproof, making it one of the best choices for first-time campers. If you're camping with kids or a group and need something roomier, our guide to the best family tents compares cabin and dome models by family size.
Step 1 — Choose the Right Campsite Spot
Before you unpack anything, take a few minutes to assess your site:
- Look for flat ground. Even a slight slope becomes uncomfortable after a few hours of sleeping. Use your foot to check for hidden roots or rocks under leaves or grass.
- Avoid low-lying areas. Rain naturally drains downhill. Pitching in a depression means waking up in a puddle.
- Check overhead clearance. Look up for dead branches, called "widow-makers," that could fall overnight.
- Face the entrance away from prevailing wind. This keeps rain from blowing directly into the door and helps ventilation work the way it should.
Step 2 — Lay Out the Footprint

A tent footprint (also called a ground cloth) is a protective layer that goes between the tent floor and the ground. It protects the floor from abrasion and punctures, and adds a small amount of insulation.
Lay the footprint flat on your chosen spot. If your tent doesn't come with one, a cheap blue tarp cut to size works fine. Make sure it's slightly smaller than the tent floor — if it extends past the edges, it'll channel rainwater underneath you.
Step 3 — Stake Out the Corners First
Before you raise any poles, stake the tent body's corners into the ground. This gives you a fixed shape to work from and prevents the tent from shifting as you add the structure.
Push stakes in at a 45-degree angle, angling away from the tent. This gives them the most pull resistance. On soft ground, drive them in deep. On packed or rocky ground, look for cracks or use heavier stakes that can handle the resistance.
Step 4 — Assemble and Thread the Poles
Most modern tents use fiberglass or aluminum shock-corded poles that unfold and click together automatically. Lay all the pole sections out, let the shock cord pull them together, and you'll have two or three full poles ready in seconds.
Thread the poles through the fabric sleeves or clip them onto the tent body — your tent will use one or the other. The Coleman Sundome uses an easy-to-clip system: the poles cross in the center and clip onto the corners and sides of the tent body.
Step 5 — Raise the Tent Body
With the poles in place, lift the crossing point upward to raise the tent body. The fabric will tighten as you push the pole ends into the corner grommets or clips. You should feel the tent take shape and become taut — this is how it gets its structural strength.
If the tent feels loose or floppy, check that the poles are seated fully in each corner. A tent that isn't fully tensioned will sag under rain and move more in the wind.
Step 6 — Attach the Rainfly
The rainfly is the waterproof outer layer that drapes over the tent body and keeps rain from reaching the inner fabric. Even if the weather looks clear, always attach the rainfly — morning condensation alone can make the inside of a tent damp if the fly isn't on.
Drape the rainfly over the poles and clip or velcro it to the tent body at the corners. Make sure the fly extends over the door and any vents. Pull the fly taut using the adjustment straps at each corner.
Step 7 — Stake Out the Guy Lines
Guy lines are the small cords that attach to the rainfly and stake into the ground at an angle. They're often overlooked, but they're what keeps your tent from collapsing in wind and improves rain performance by pulling the fly away from the tent body.
Clip each guy line to the fly attachment point, pull it out at a 45-degree angle, and stake it down. Adjust the tension so the line is taut but not so tight it distorts the fly's shape.
Step 8 — Set Up the Interior
With the tent pitched and weatherproofed, it's time to make it livable:
- Lay down your sleeping pad first. A self-inflating pad like the ALPS Mountaineering Flexcore provides both cushion and insulation from the cold ground. Open the valve and let it expand on its own — it takes just a few minutes with minimal inflation from you.
- Unroll your sleeping bag on top of the pad. Keep it inside the stuff sack until you're ready to sleep so it can fully loft.
- Organize your gear. Store shoes in the vestibule, not inside, to keep dirt out of the sleeping area. Keep a small bag of nighttime essentials (headlamp, water, phone) near the door for easy access.
Don't Forget a Headlamp
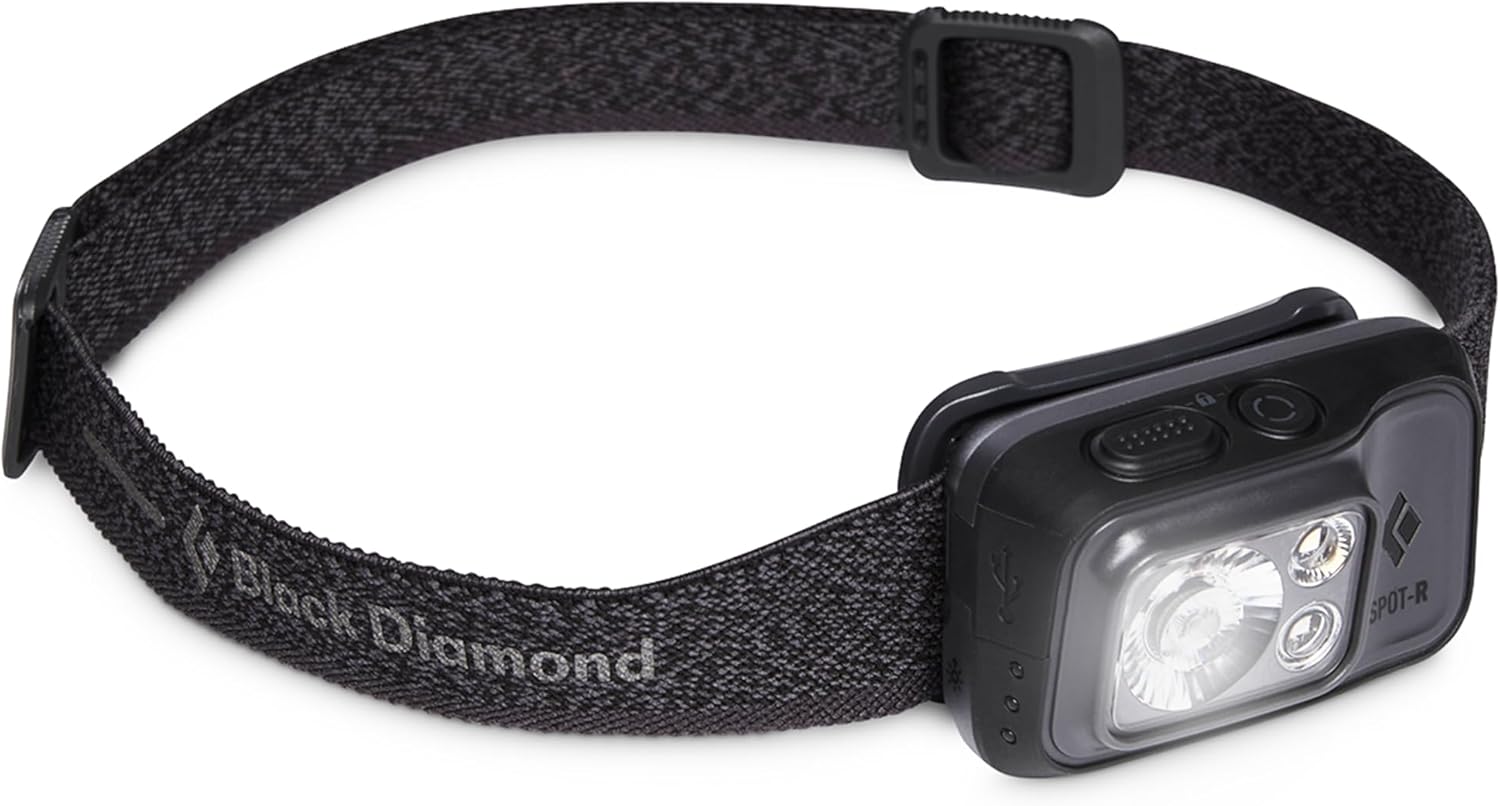
No matter how early you plan to arrive at camp, always have a headlamp clipped to your bag. Sunset happens fast, and you do not want to be threading tent poles in the dark with a phone flashlight in your mouth. The Black Diamond Spot 400-R puts out 400 lumens and charges via USB — bright enough to pitch a tent and light the whole campsite.
Tips for Faster Tent Setup
- Pre-assemble your stakes into a small bag so you're not hunting through gear at the campsite.
- Color-coded poles on many beginner tents tell you exactly which pole goes where — look for matching colors on the sleeves or clips.
- Lay out all pieces before you start building. Inventory everything against the included instructions before you begin.
- Don't force anything. If a pole isn't going in, it's usually pointed the wrong direction, not the wrong size. Re-examine before pushing.
The Bottom Line
Learning how to set up a tent correctly takes one or two tries and pays off every trip after. Practice at home, stake the corners first, don't skip the rainfly, and add guy lines whenever wind is a possibility. With the right tent and a little preparation, pitching camp takes less time than you'd think — and you'll spend more of your trip enjoying the outdoors instead of wrestling with gear.